Last updated: 22 April 2026 | Change log
Accept payments securely with our Payments via Access Worldpay app, available in the Shopify App Store.
This app does not support auto capture (auto settle); you must disable auto capture within the Shopify store.
- Go to apps.shopify.com/payments-access-worldpay and click "Install".
Log into your Shopify account, then select the store where you want the app to be installed.
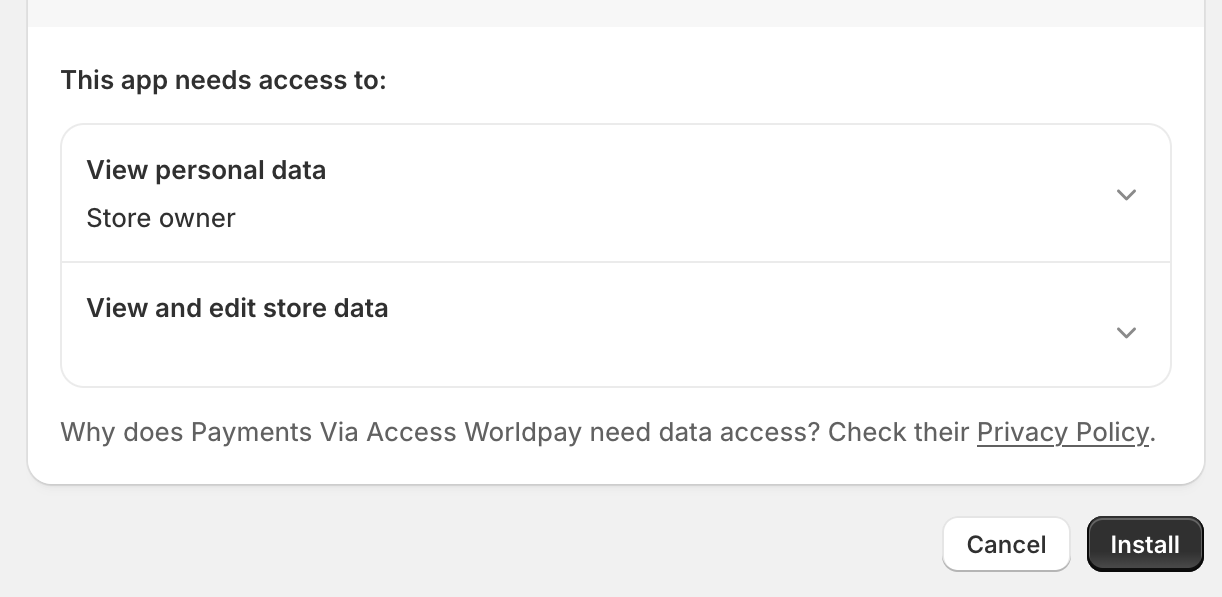
After you select a store, an install page appears. Click "Install app".
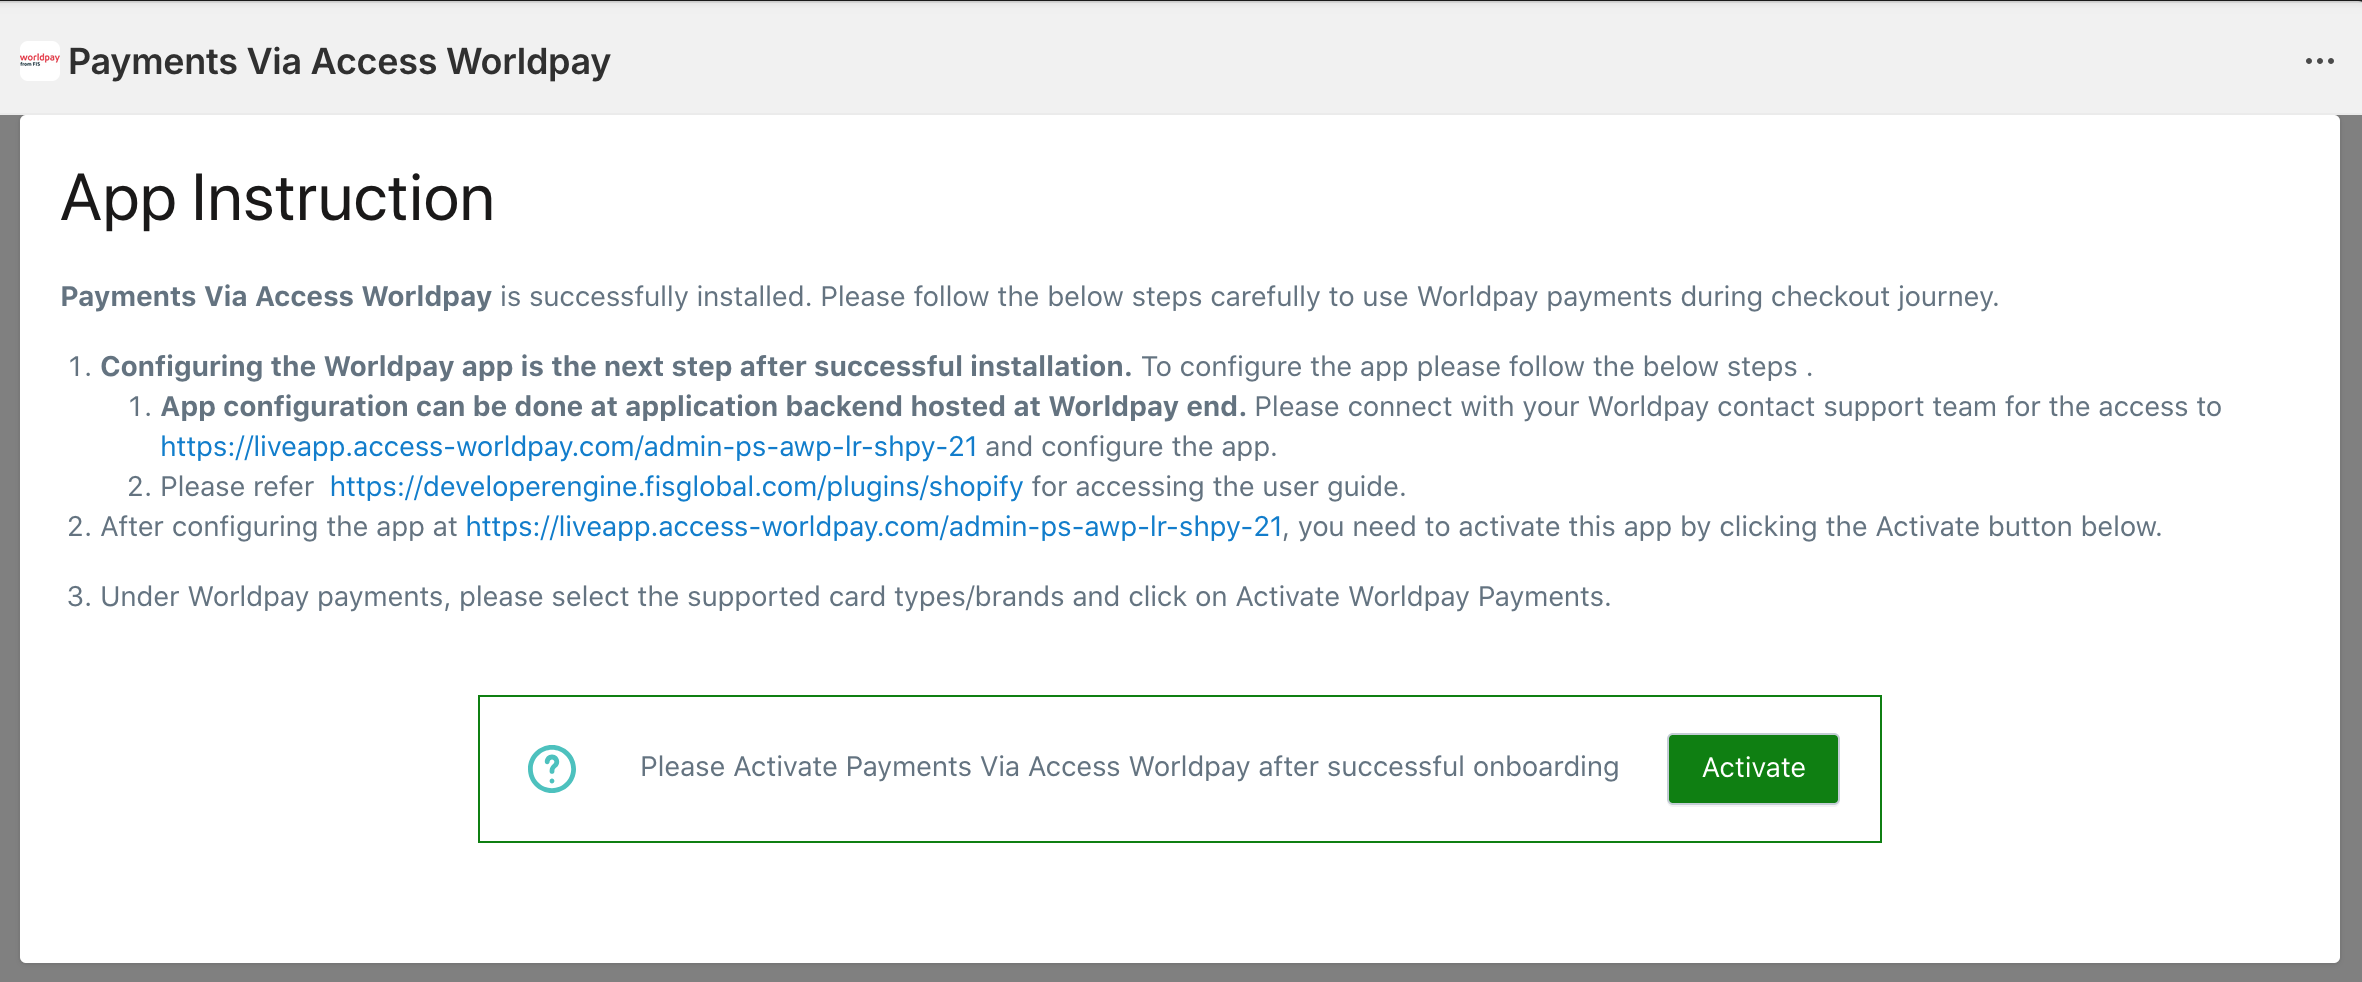
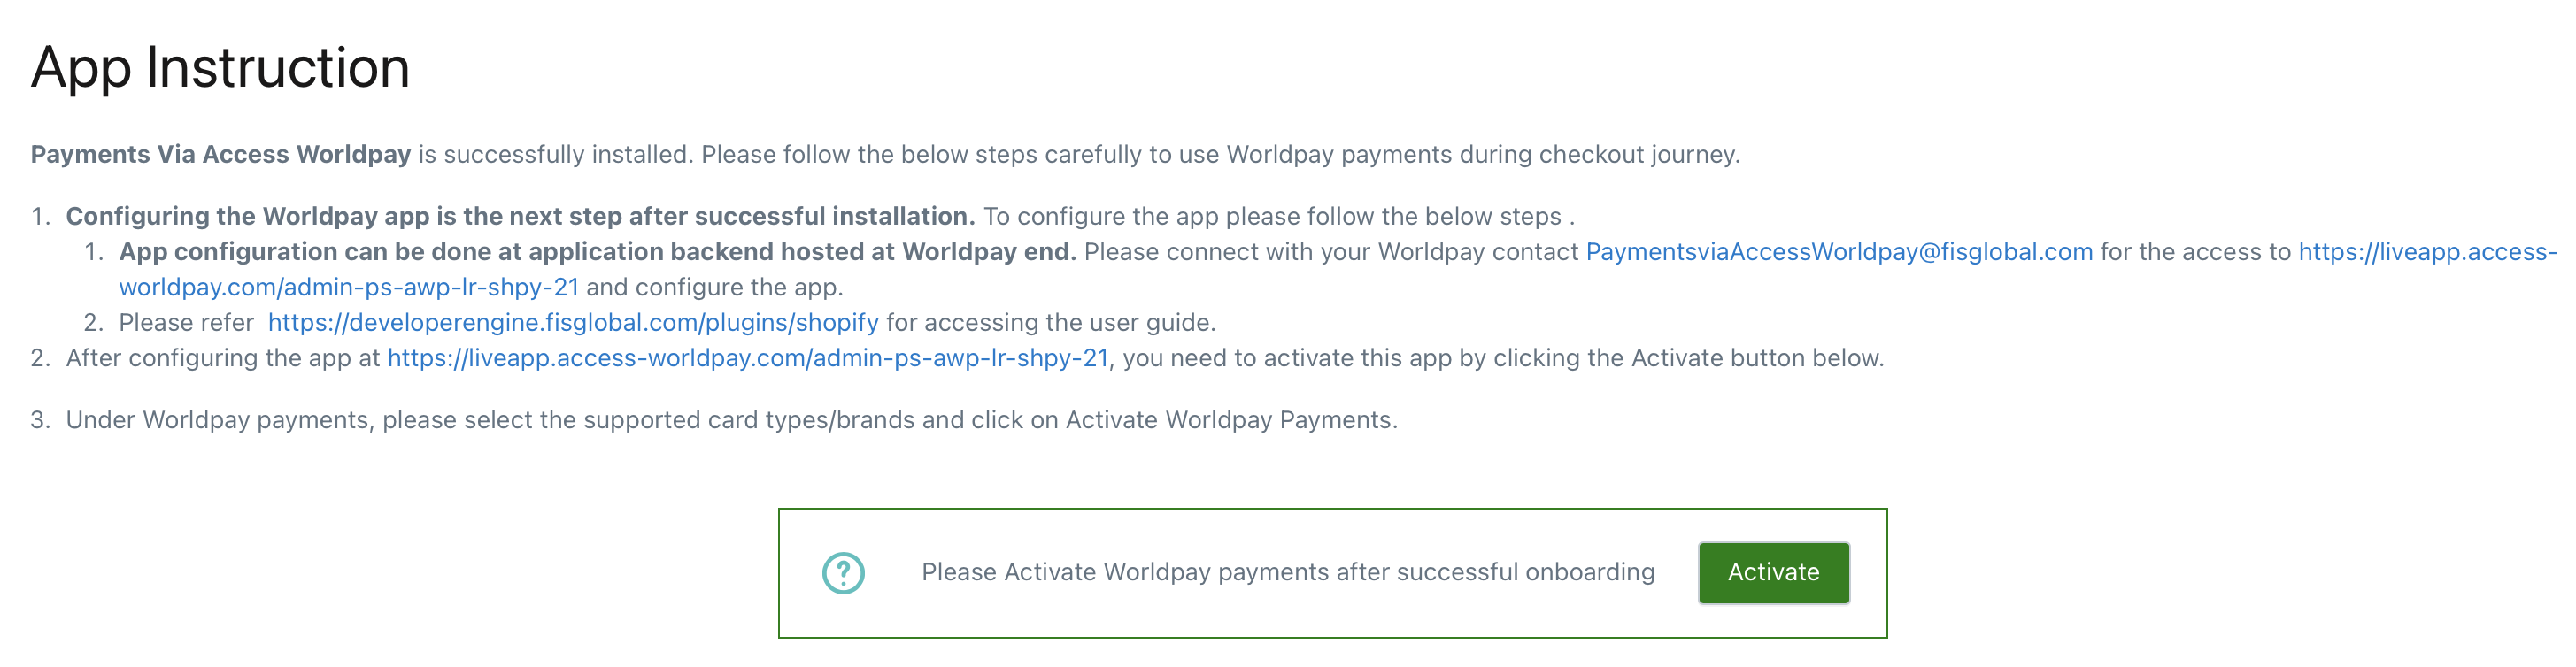
When the installation is complete, the "App Instruction" page appears.
- Log into our Worldpay Plugin admin portal. Contact your Worldpay Implementation Manager if you need portal credentials.
- Log in as App Administrator and go to Configuration → General using the left side menu.
- Select your store from the dropdown menu and the "General Configuration" fields appear:
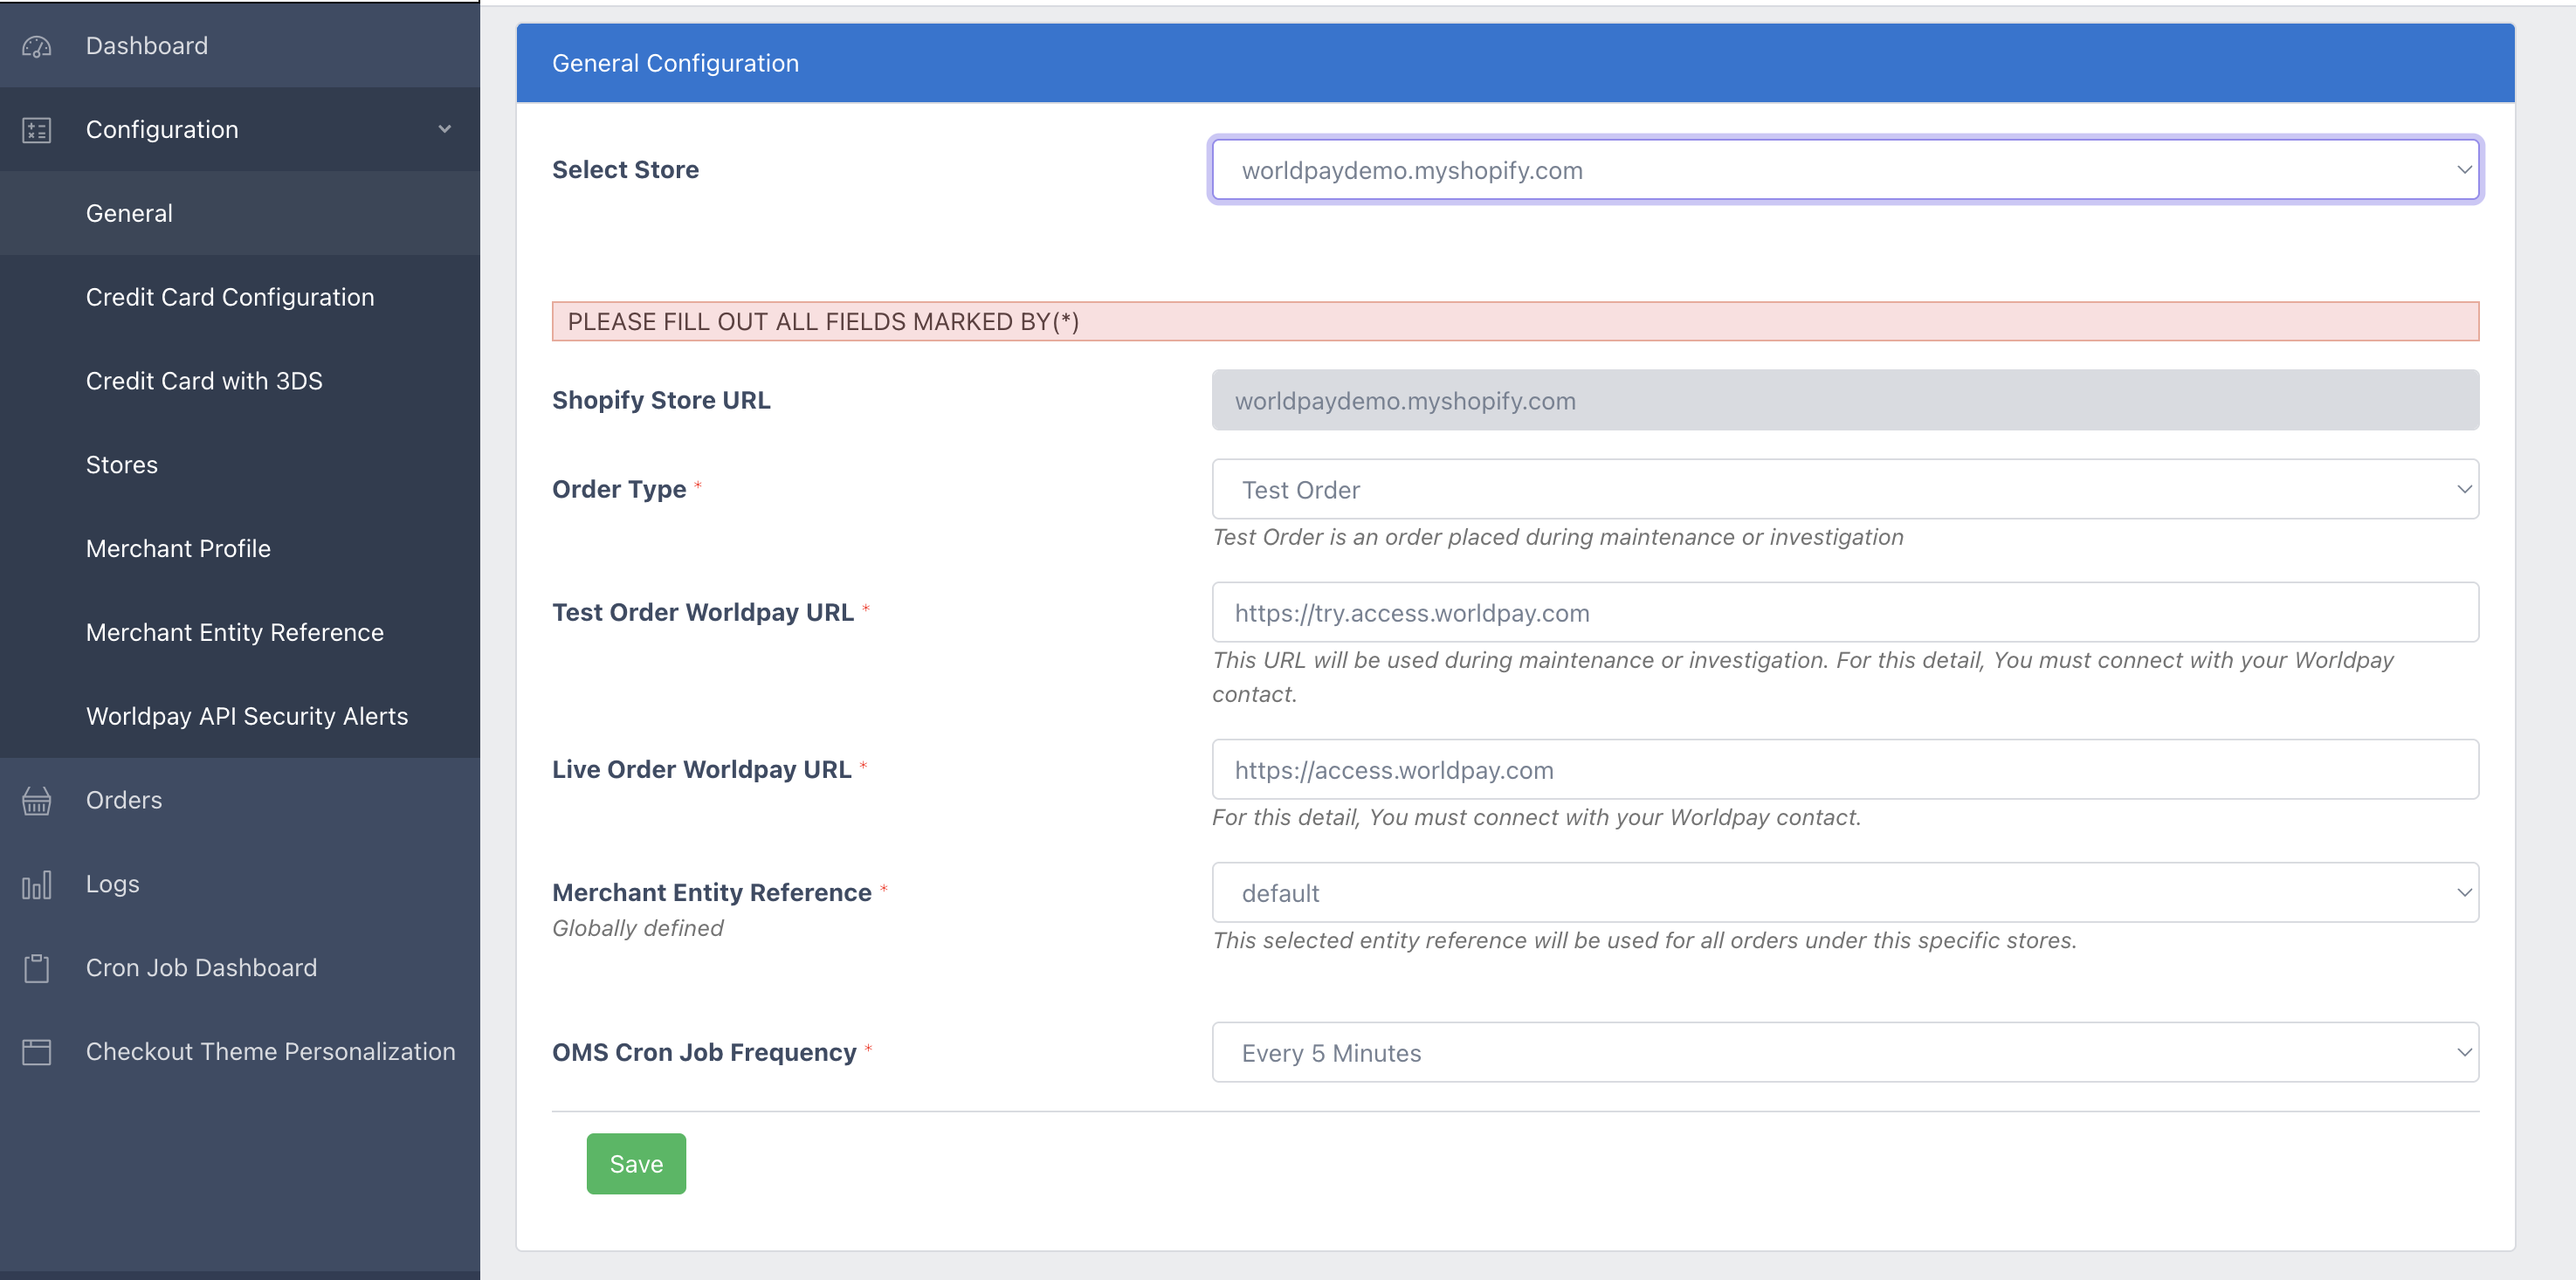
- Complete the fields using the information in the table below.
| Field | Description |
|---|---|
| Shopify store URL | Your Shopify store domain name. |
| Order type | Switches between Test and Live modes. Set it to "Live Order" after testing is complete and before the production launch. |
| Test order Worldpay URL | Our test environment's URL. |
| Live order Worldpay URL | Our production environment's URL. |
| Merchant entity reference | To get your Access Worldpay entity, contact your Worldpay Implementation Manager. For the test environment, set this to "default". |
| OMS cron job frequency | Sets the frequency of a programming job which synchronizes the order statuses for settle, cancel, and refund actions. The recommended frequency is every 5 minutes for high order volumes. |
- Next, go to Configuration → Merchant Profile. The below page appears:
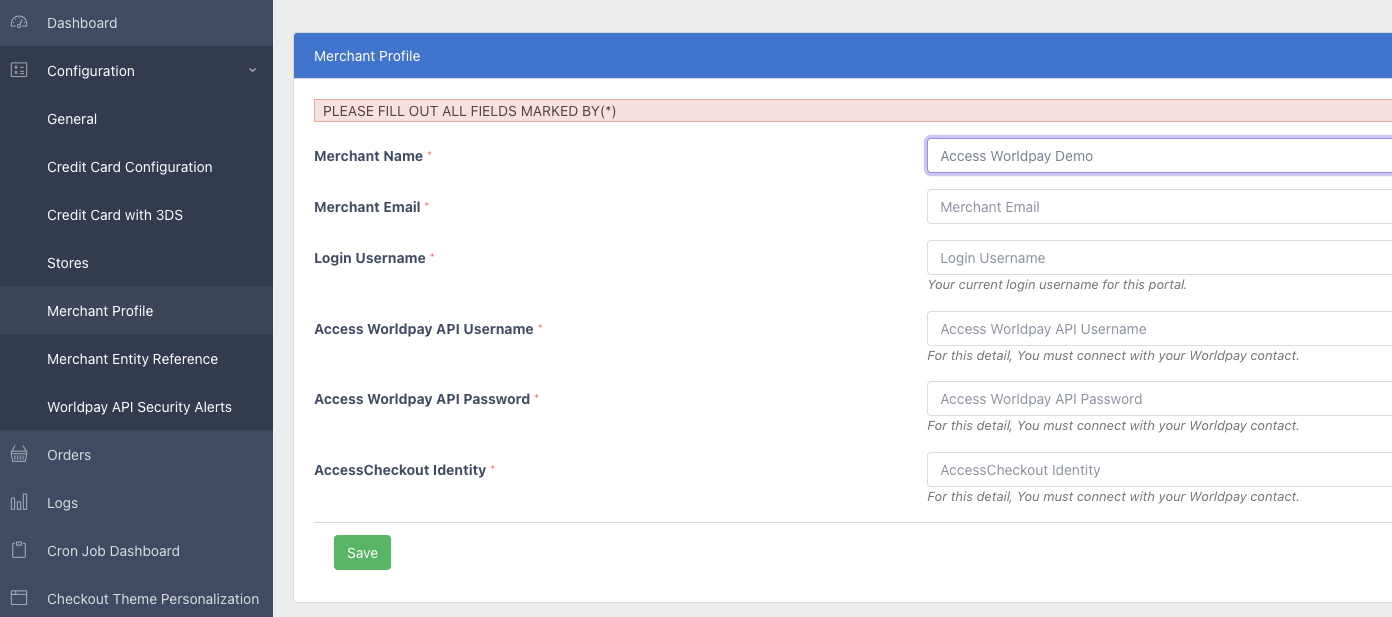
- Complete the fields using the details your Worldpay Implementation Manager has given to you.
In our Worldpay Plugin admin portal, go to Configuration → Credit Card Configuration using the left side menu.
You will see "AccessCheckout (WebSDK)" listed as your integration mode, allowing customer card information to be captured by us.
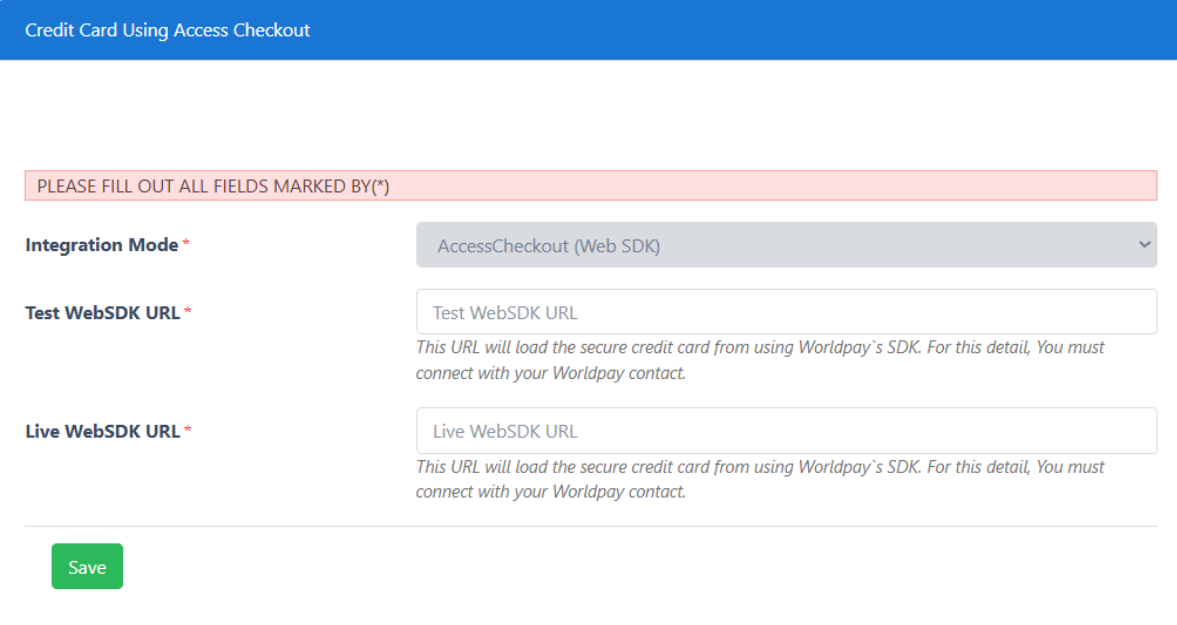
- Complete the Test WebSDK URL and Live WebSDK URL fields with the information your Worldpay Implementation Manager has given to you. These URLs load the secure credit card data from using our Checkout Web SDK.
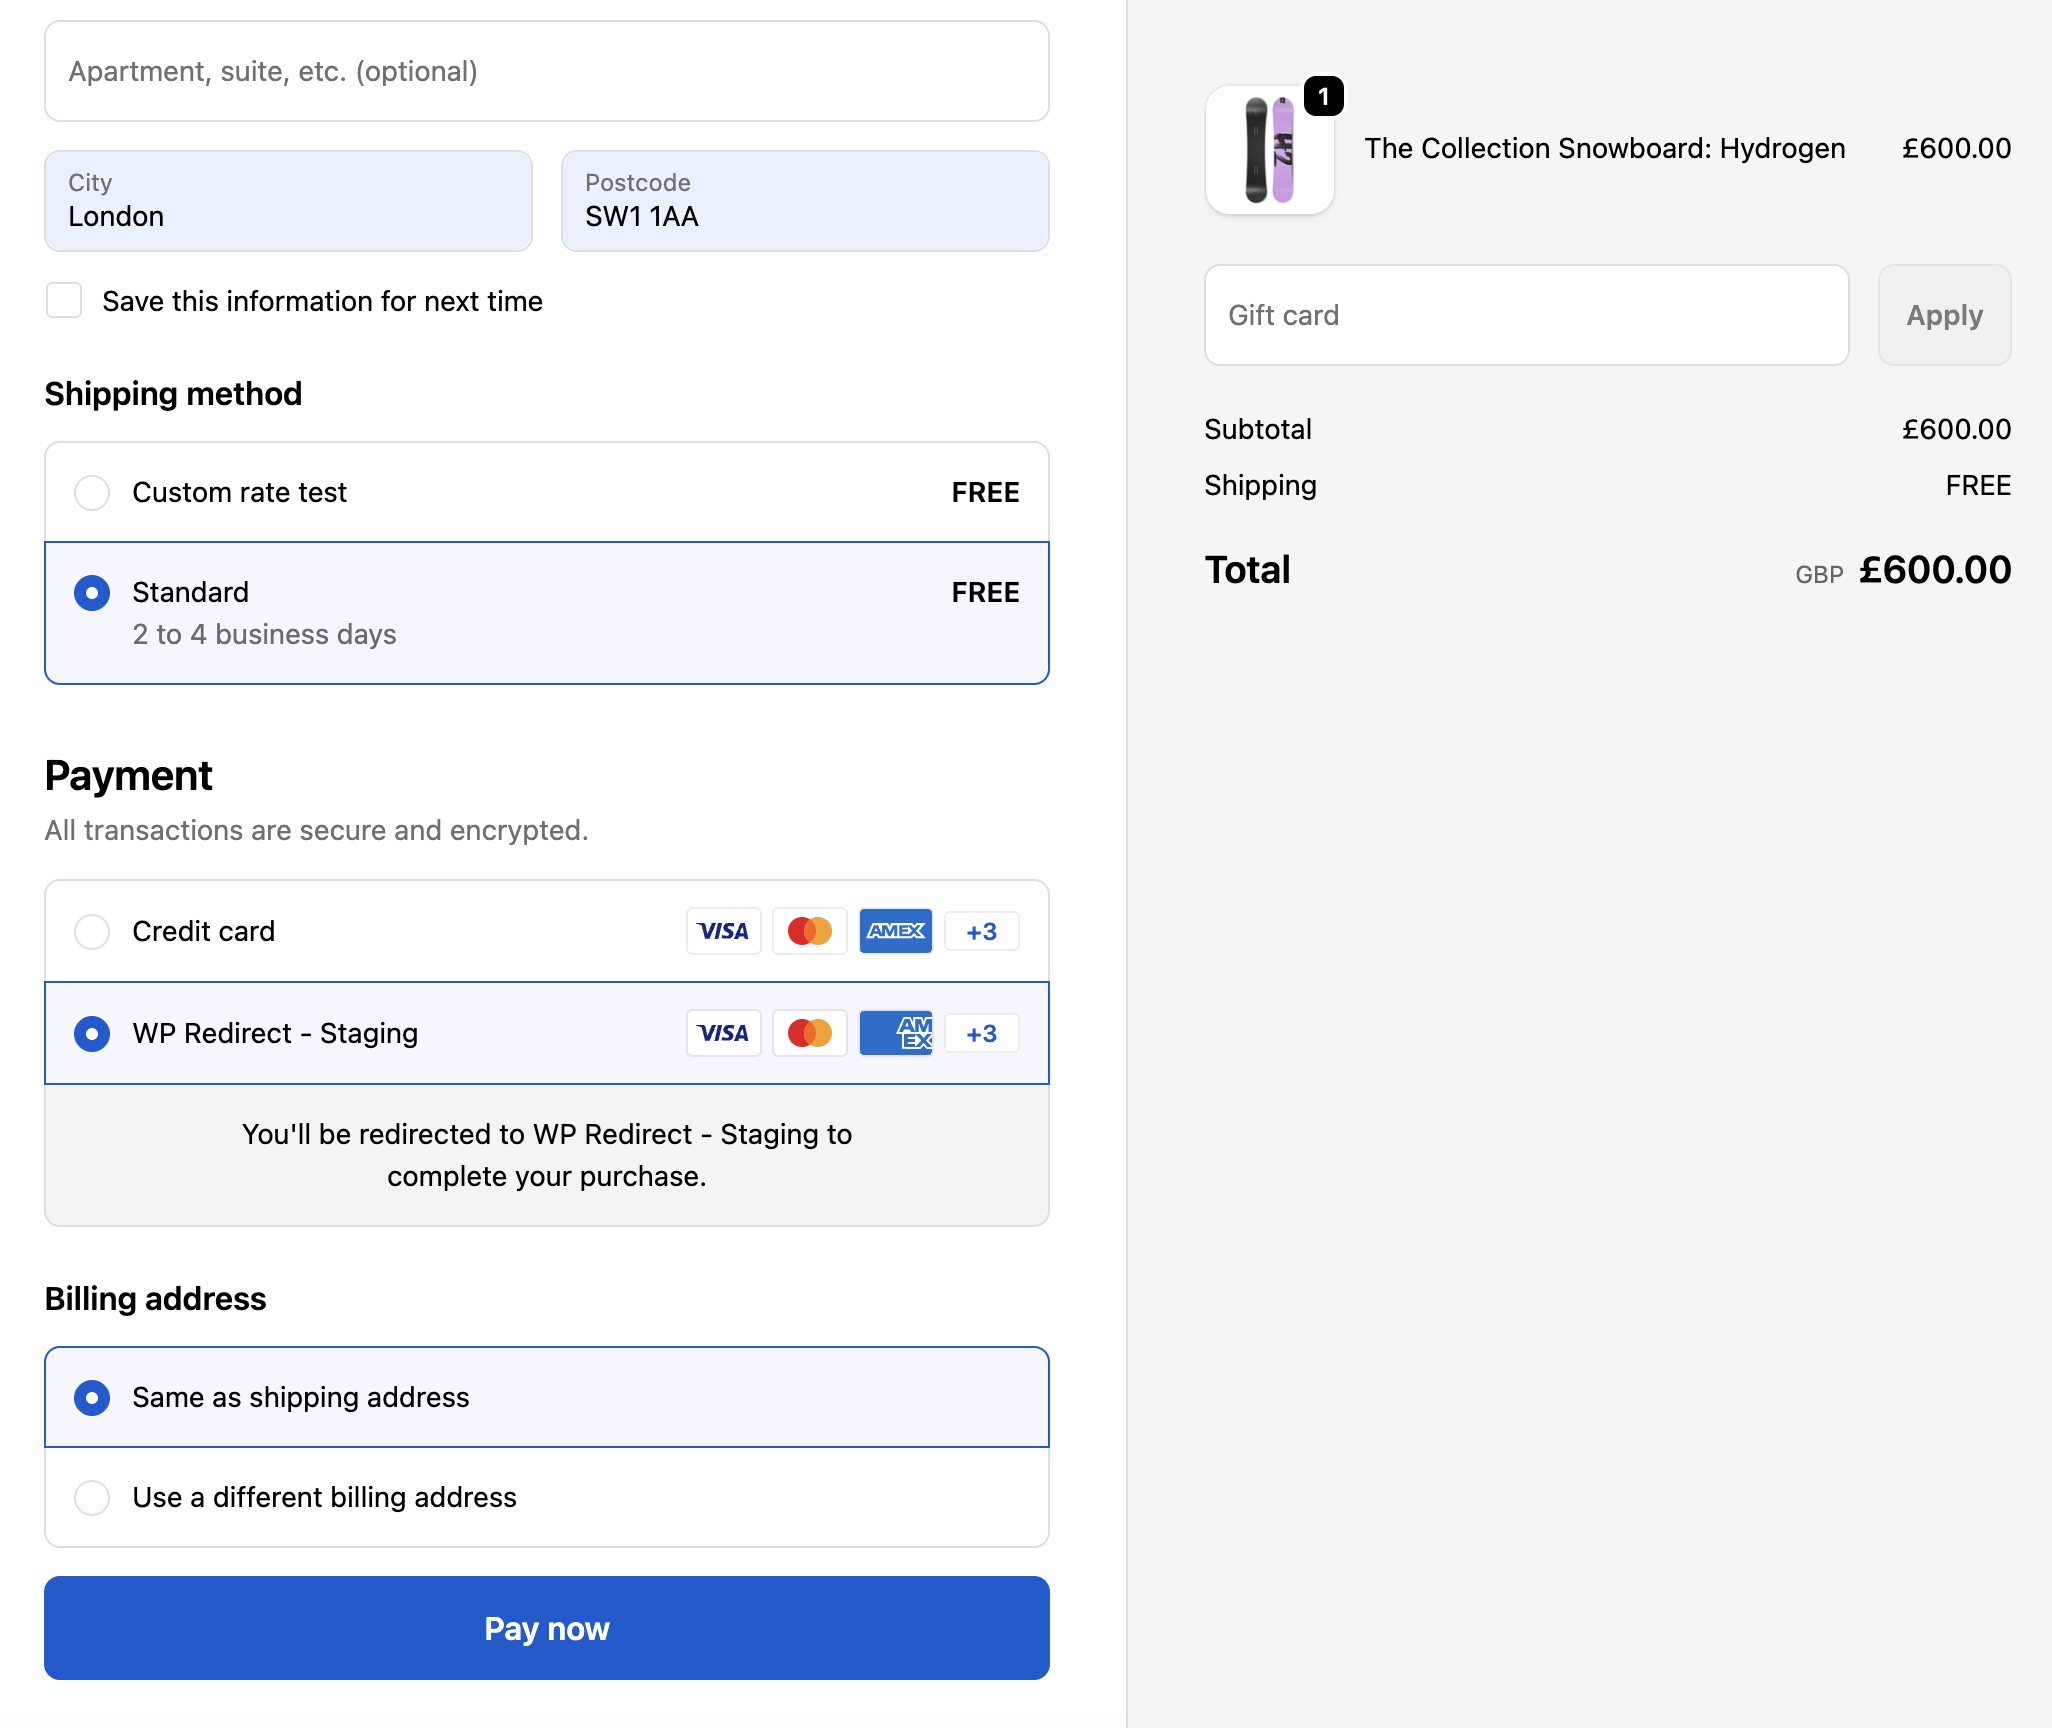
Your customer places their order using our Checkout Web SDK through the checkout page, as in the below example.
Activate the app within the Shopify admin panel by navigating to the "App Instruction" page and clicking the green "Activate" button.
For an alternative activation method to the step above, add Worldpay in the payment settings of your Shopify admin panel.
- From the home page, click on the "Settings" icon in the bottom left of the screen.
- Select "Payments" in the left side menu and click the "Add payment method" button under "Additional Payment Methods".
- Click on "More views" and select "Search by provider".
- Search for "Worldpay" and then choose "Worldpay Payments".
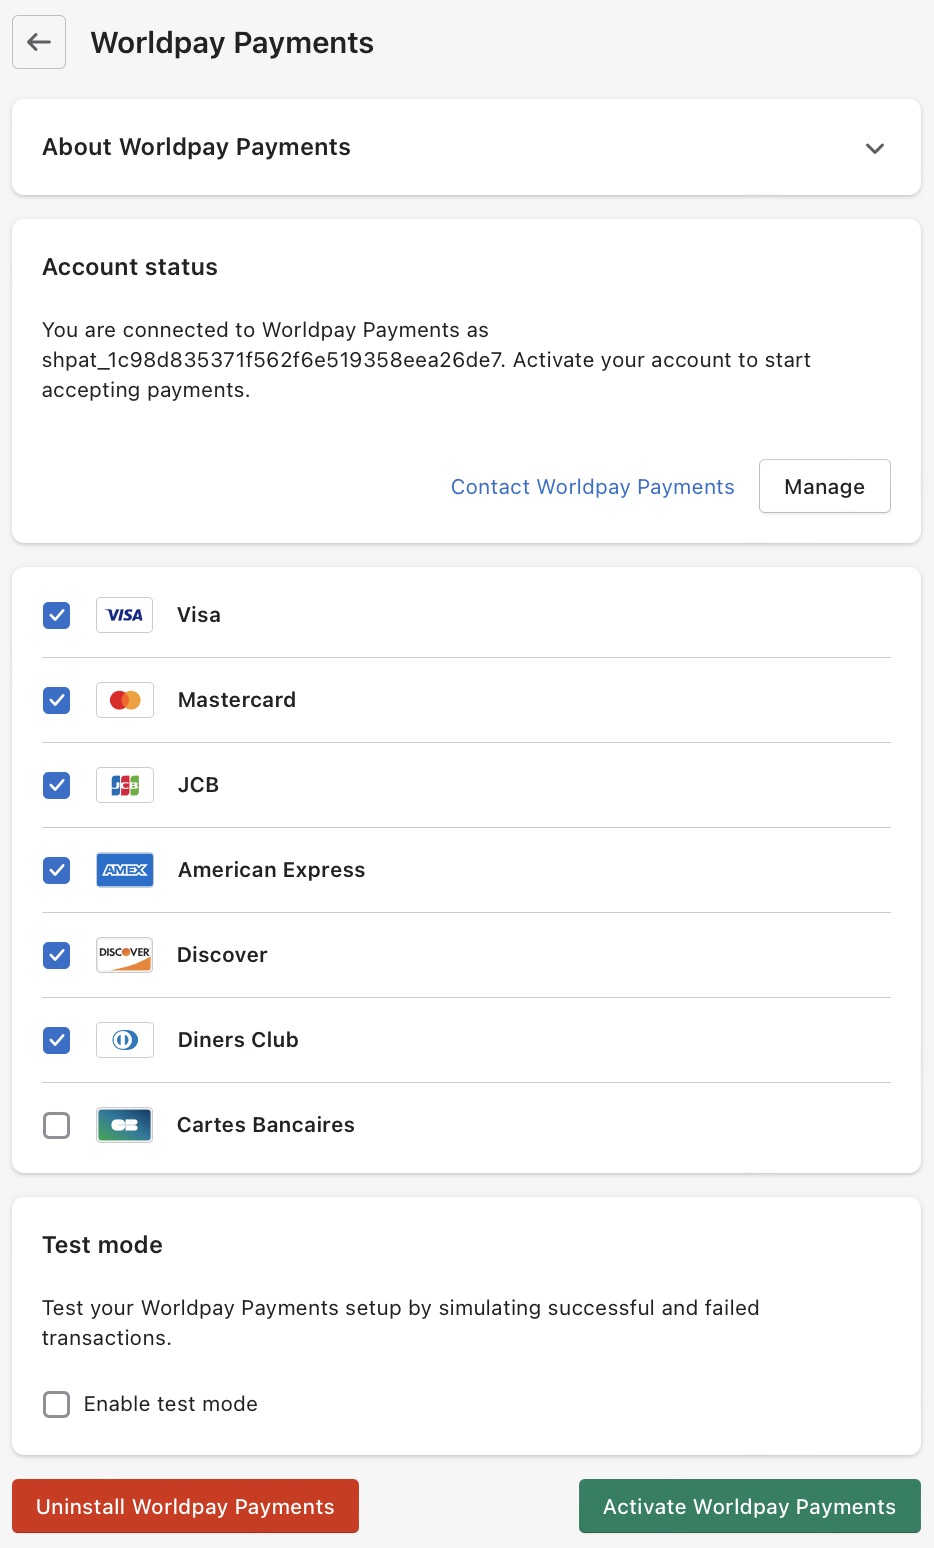
- Click the "Activate" button. The activation page loads.
- Select the desired card types or enable "Test mode".
- Click "Activate Worldpay Payments".
Enable 3DS authentication functionality to verify your customer's identity and meet the Strong Customer Authentication (SCA) requirements under the PSD2 regulation. Learn more about when SCA applies.
To enable and configure 3DS:
- In our Worldpay Plugin admin portal, go to Configuration → Credit Card with 3DS. The "Credit Card 3DS Configuration" screen appears:
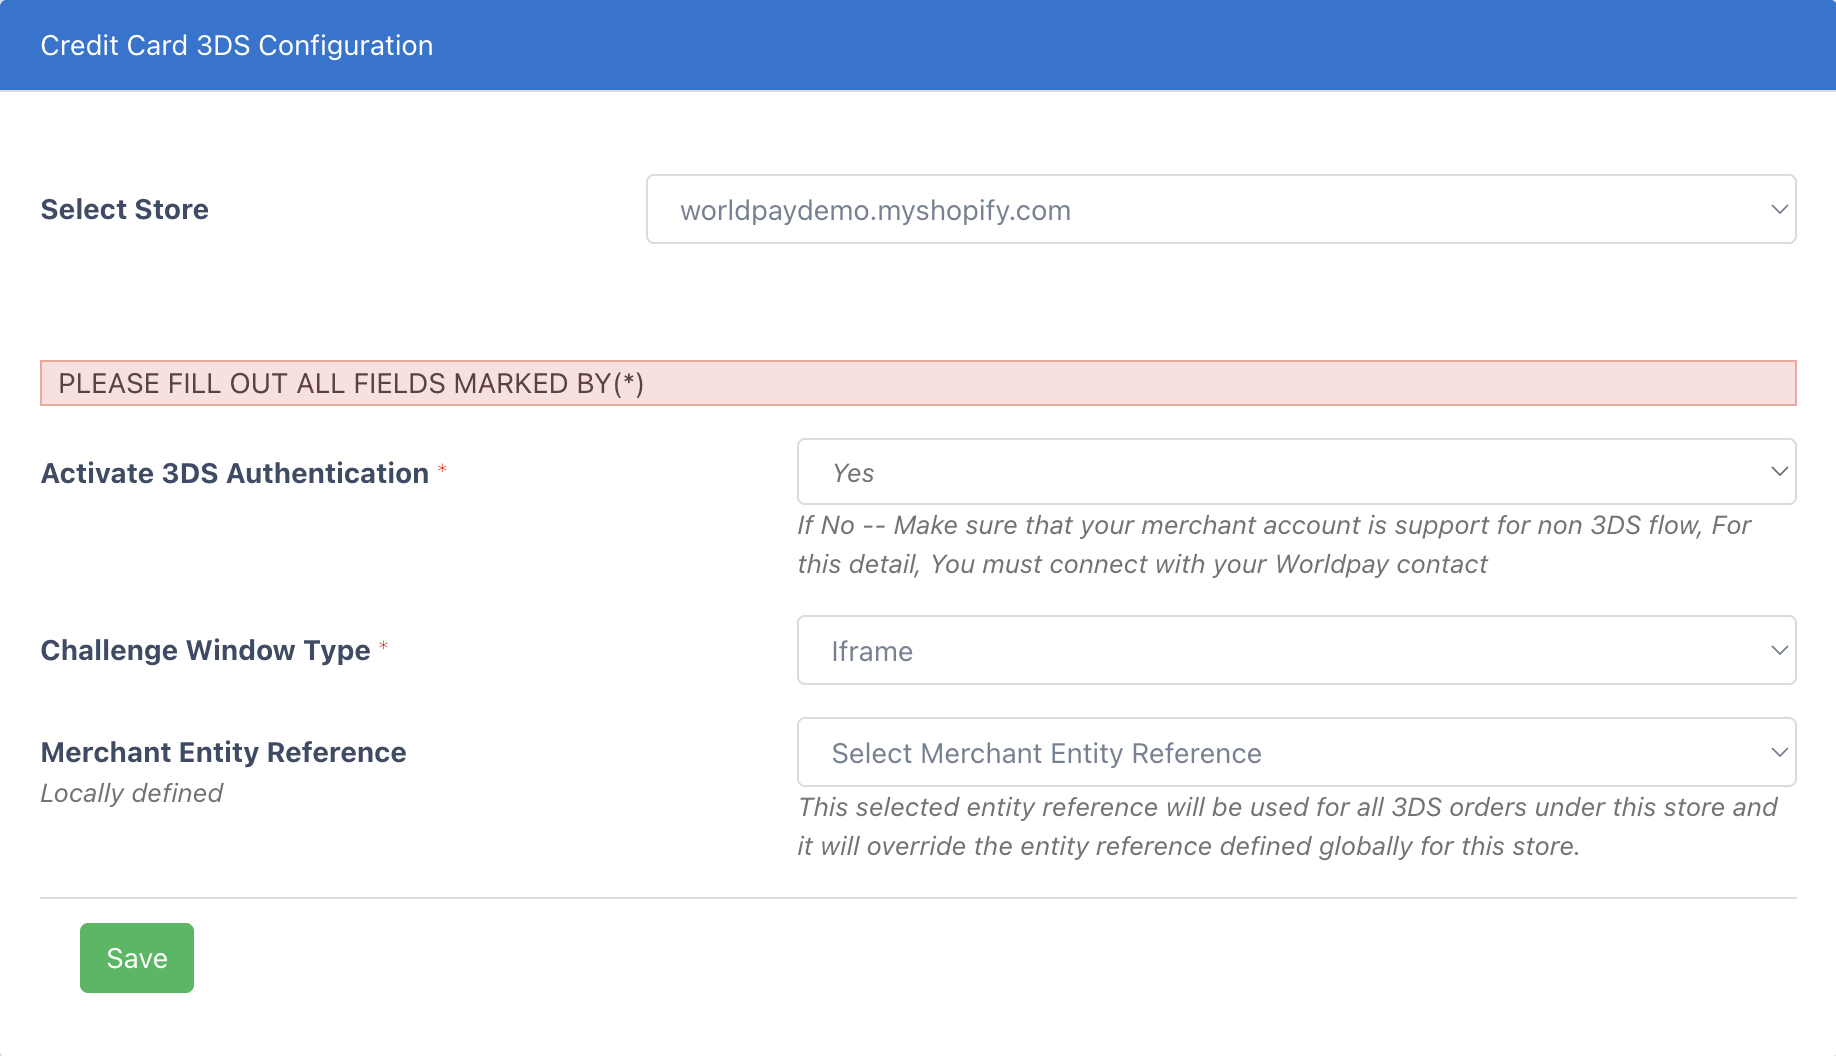
Select your store and set "Activate 3DS Authentication" to "Yes".
Choose the type and size of the challenge window you wish to display to your customer.
Add your merchant entity reference.
Click "Save".
Next steps
Configure your app with optional features
Manage your orders